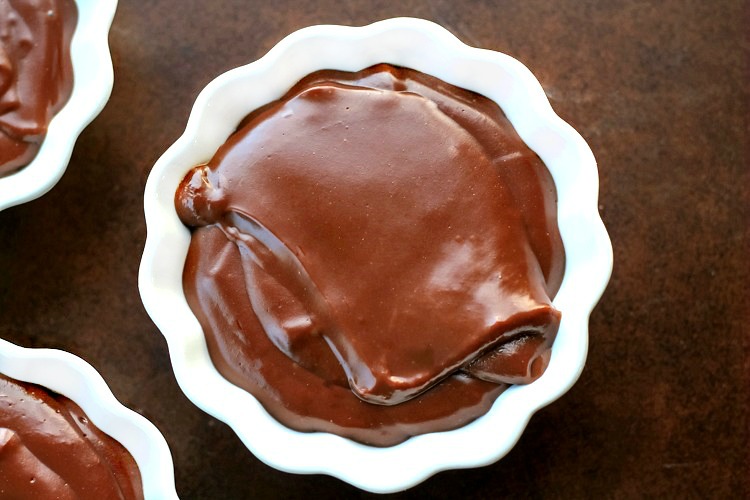
Homemade Chocolate Pudding Recipe
Baking from scratch and making homemade desserts has always been a love of mine. When I started this blog I hoped that I could share that love with you and show you how easy and economical it is. Homemade chocolate pudding is one of the best examples of that.
Not to mention better for you as well. Not better for you as in “stuff yourself with homemade cakes and puddings because it’s homemade” better for you. (Even though you may want to after trying this chocolate pudding.)
It’s better for you in that you’ll know what’s in it. There won’t be any ingredients that you can’t pronounce in this homemade chocolate pudding recipe.
Baking or making homemade desserts from scratch isn’t hard, it’s just a matter of taking things one step at a time. Always read through the recipe at least once all the way through before you start and mentally imagine the steps in your head. This will save you a lot of time, effort, and frustration in the long run.
Have your ingredients measured out ahead of time to save yourself some confusion while mixing the recipe. I’ve decided to do more tutorials this year to help beginner bakers become acquainted with baking from scratch and making homemade desserts.
Veteran bakers, any words of wisdom on a tutorial recipe to help beginner bakers would be much appreciated. Leave your tips and words of encouragement in the comment section.
Let’s get started with the first tutorial recipe of the year. All you have to do is make homemade chocolate pudding once to get the feel of it. After that, chocolate pudding is a breeze!
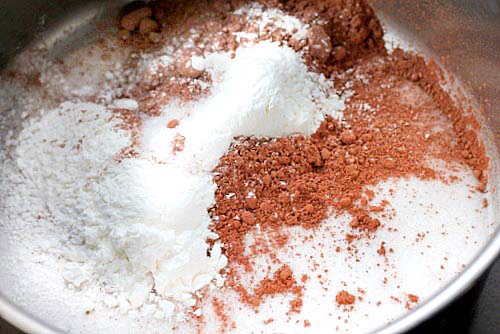
First, read the ingredients and instructions and get acquainted with the chocolate pudding recipe. Measure out all your ingredients. Place the sugar, cornstarch, cocoa powder, and salt in a heavy-duty saucepan.
Whisk the ingredients together. Take the butter and vanilla and place it near the stove so it’s measured out and ready when you need it.

After whisking the ingredients together you may see clumps in the mixture, they are cocoa clumps. Take the back of a kitchen tablespoon and press the large clumps out.
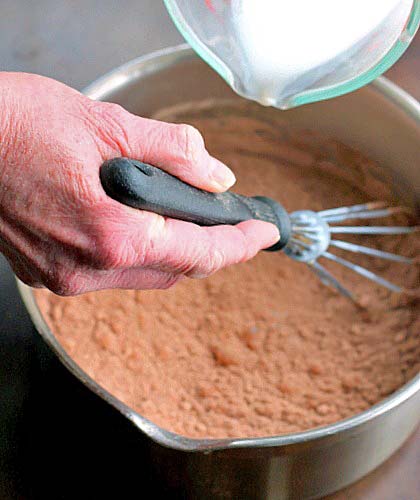
With a whisk in one hand, slowly pour the milk into the pan while whisking.
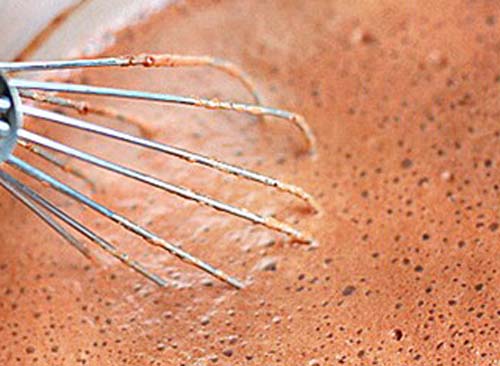
Place the pan on a burner turned to low to medium heat and whisk the mixture slowly. Why low to medium heat ? Your chocolate pudding has to thicken SLOWLY. This is where you need a little patience. I have a gas stove that doesn’t have markings on the knobs for low, medium or high heat like an electric stove would. I start the chocolate pudding out on low heat and if need be turn the flame up a little more to medium when I make this.
It’s going to take about 10 minutes for the chocolate pudding to start to thicken and come up to a boil while you whisk. Turning the heat up to speed the process won’t help.
You may run the risk of burning it or it may boil quickly but the pudding will not have thickened. What you’ll be left with is hot chocolate soup.
If the pudding hasn’t thickened and come up to a boil in the saucepan, it won’t set up in the refrigerator either. I can’t tell you how many times I’ve read comments on recipes where someone said…”It came to a boil but never set up in the refrigerator”.
Why would that happen? The heat was up to high, the mixture boiled , before it thickened. It will always thicken first, then boil. Patience Grasshopper, it’s a virtue.
When the pudding does thicken, it will happen fast and all at once. With in seconds it will start to boil. Large bubbles will come to the surface and erupt like little volcanoes. Whisk for one more minute.
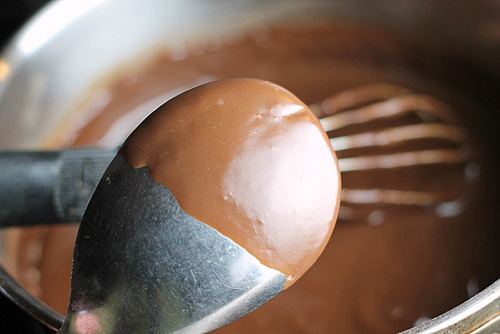
Your chocolate pudding should be thick enough to coat the back of a spoon without seeing the metal on the spoon through the pudding.
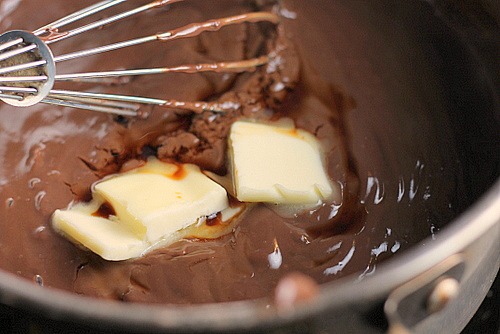
Take the pudding off the burner and add the butter and vanilla , whisk to incorporate it into the pudding.
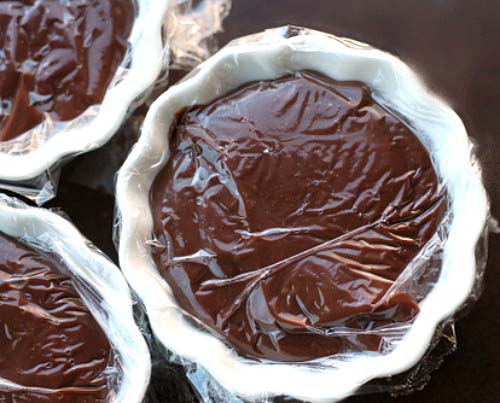
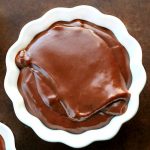
Pour the pudding into individual dessert cups, a graham cracker crust or a pie crust, depending on how you want to serve it. Press plastic wrap onto the pudding surface so it actually touches the surface of the pudding. This prevents a “skin” from forming on the top of the pudding when it cools. Refrigerate for about 2 hours until cooled. Top with whipping cream if desired and serve.
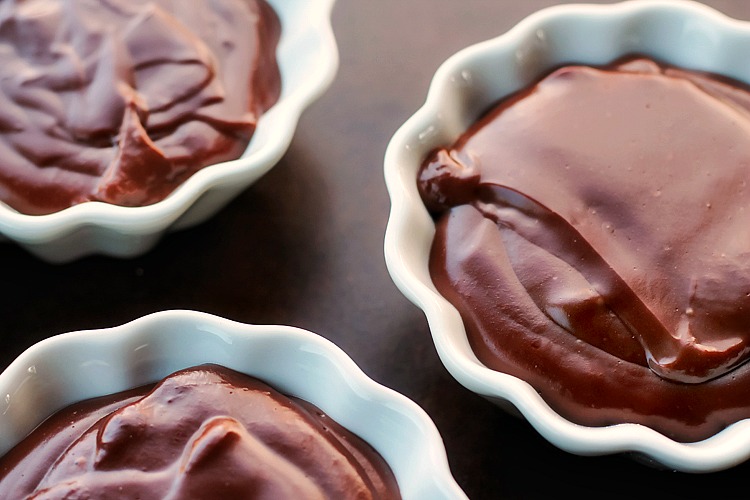
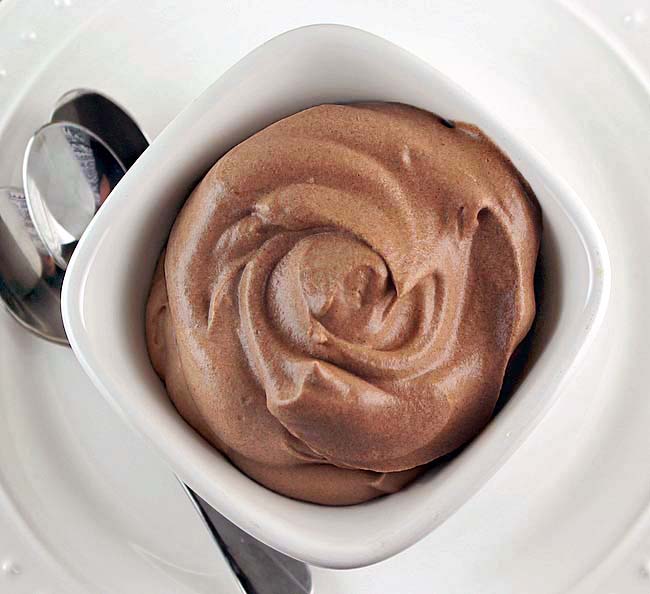
Congratulations, you just made a delicious Homemade Chocolate Pudding! Enjoy!
Homemade Chocolate Pudding
Ingredients
- 2/3 cup sugar
- 1/4 cup cocoa
- 3 tablespoons cornstarch
- 1/4 teaspoon salt
- 2-1/4 cups milk
- 2 tablespoons butter
- 1 teaspoon vanilla extract
- Whipped topping as a topping optional
Instructions
- 1. First, read the ingredients and instructions and get acquainted with the recipe. Measure out all your ingredients. Place the sugar, cornstarch,cocoa powder and salt in a heavy duty saucepan . Whisk the ingredients together. Take the butter and vanilla and place it near the stove so it's measured out and ready when you need it.
- 2. After whisking the ingredients together you may see clumps in the mixture, they are cocoa clumps. Take the back of a kitchen tablespoon and press the large clumps out.
- 3. With a whisk in one had, slowly pour the milk into the pan while whisking.
- 4. Place the pan on a burner turned to low heat and whisk the mixture slowly. Why low heat? Your pudding has to thicken SLOWLY. This is where you need a little patience. It's going to take about 10 minutes on low heat for the pudding to start to thicken and come up to a boil while you whisk. Turning the heat up to speed the process won't help. You may run the risk of burning it or it may boil quickly but the pudding will not have thickened. What you'll be left with is hot chocolate soup. If the pudding hasn't thickened and come up to a boil in the saucepan, it won't set up in the refrigerator either. I can't tell you how many times I've read comments on recipes where someone said..."It came to a boil but never set up in the refrigerator". Why would that happen? The heat was up to high, the mixture boiled , before it thickened. It will always thicken first, then boil. Patience Grasshopper, it's a virtue.
- 5. When the pudding does thicken, it will happen fast and all at once. With in seconds it will start to boil. Large bubbles will come to the surface and erupt like little volcanoes. Whisk for one more minute.
- 6. Your pudding should be thick enough to coat the back of a spoon without seeing the metal on the spoon through the pudding. Take the pudding off the burner and add the butter and vanilla , whisk to incorporated it into the pudding. Pour the pudding into 4 dessert cups, a graham cracker crust or a pie crust depending on how you want to serve it. Press plastic wrap onto the pudding surface so it actually touches the surface of the pudding. This prevents a "skin" from forming on the top of the pudding when it cools. Refrigerate for about 2 hours until cooled. Top with whipping cream if desired and serve.
Video



I’ve never tried to make my own chocolate pudding, but yours seems easy to try! 🙂
Thank you Lily, it is easy and I hope you give it a try. Thanks for stopping by!
You are never too old for putting. I will take 2 please.
Thank you Peter!
Thanks for this fun and always delicious treat; I love the great memories of my childhood that this one evokes!
I love your childhood memories Dan and your recipes!
Oh man these look good! I used to make chocolate pudding in the microwave, but I think I need to try your recipe! Looks great.
Thank you Debi!!
Great tutorial for a lovely, versatile dessert! I can imagine licking the spoon on this one 🙂
Thank you Patricia!
I made your recipe and I have to tell you it is the absolute best pudding I have ever eaten. It is smooth and creamy. It is the perfect thickness and has the perfect chocolate balance of flavor. If you are in a hurry, this recipe is not for you… stick to the kind in the box but if you want to give your family and/or guests a chocolate pudding with the WOW factor… Look no further… You have arrived!! =)
You go girl!!! Thank you Eleta! I’m dancing over here! So happy you made it and loved it!!!
Bunny, it was phenomenal!! No joke. I have been cooking for 45+ years. Chocolate Pie is and always has been the “go to” pie seen at every Sunday Dinner, church potluck or holiday dessert table. It is also made from scratch. Your pudding has the same kind of texture and flavor as the pudding. It also brings some very fond childhood memories of my Grandma. I am putting a recipe book together for my daughter (filled with recipes from my childhood as well as hers) and this is definitely a recipe that will be going into it, with your permission and credit of course. Thank you for sharing it so I can do this.
Awe Eleta, it’s comments like yours that makes me keep doing what I do. Thank you so much. Yes you have my permission!
Hi first of all I would like to say i love all your cakes and pies..It just makes me want to be in your kitchen while you are baking and learn the art. They look so yummy and delicious. Tempts me to make one for myself 😛 Though i am a vegetarian n don’t use eggs in my recipe , I visit your blog frequently 😀 The way you explain each and every process is great. Keep going and kudos to you 🙂 Will surely try this one
WOW!! Thank you so much Swati!! I love doing what I do, and comments like yours makes me love it even more!
Lovely recipe that takes me right back to being young, my Scottish mother and grandmother would make this for me and it was called chocolate blancmange, thank you for reminding me, I will make your version as it looks so tasty and richer than the one of my childhood!
Thank you so much Lindsey!
Always wanted a good chocolate pudding recipe to make chocolate pudding pie. This looks like it would work!
It looks fantastic!! YUM YUM!
This looks AMAZING! My hubby loves chocolate pudding, and after 20 years of marriage, I think it is time for me to make him some. We would love for you to share with us at Party in Your Pjs, our weekly link party.
Thank you Kim!
I love chocolate pudding. Your instructions are so clear too. Pinned. Stopping by from Showcase Your Talent.
Totally making this!
I hope you do Beth, you’ll love it!
I love your recipe for homemade chocolate pudding, it’s so easy and it’s always a crowd pleaser. Thanks for sharing with Foodie Friends Friday party this weekend. Pinned and sharing.
I remember when my mom would make a cooked pudding… it was wonderful ! Now I’m craving this…will have to make some tomorrow. Thanks for sharing at the #HomeMattersParty – we hope to see you again next week. 🙂
~Lorelai
Life With Lorelai
This looks great, and the best part is I have all the ingredients on hand… One question, I have an old gas stove that tends to operate on 2 settings, on and off. Would a double boiler work?
Ricki, sorry I’m late getting to your question, a double boiler would take forever to cook the filling. I’d go with a low heat.
Hey, I just finished making the pudding in a double boiler, it came together in 10 minutes or less. 5 minutes I just walked away and 2 minutes of whisking it has thickened and 3 minutes of extra cooking just incase. I chose this way because it’s how I make cream pie fillings. I find it fast and easy, because you don’t have to worry about burning.
Thanks for the great recipe!
Jenny
NICE Jenny!! I don’t have a double boiler but I’m going to get one. Thank you for commenting Jenny and sharing your double boiler tip!
I’ll have to give this a try. I have a yummy vanilla pudding recipe and a delicious caramel pudding recipe, but so far haven’t found a chocolate one that I truly loved. We’ll see if we can change that! 😉
Lydia, I hope you love it as much as we did!
I’ve never tried making my own pudding, but this looks pretty straightforward…and so good! Thanks for the recipe!
Bunny, Thank you so much for this excellent tutorial and recipe! Your idea for making more tutorials is heaven sent. Your explanations are clear and helpful.
I’m making this for a chocolate pudding pie filling today. This will be my first ever attempt at making homemade pudding. I want to learn this to share it on my blog. I would like to use your recipe with a link back, if you give me permission. It looks perfect for a pie filling!
Thank you Diane, I love doing them!!
Hi Bunny,
I was wondering if there is a lactose free option for this recipe? I typically use Kefir in the place of buttermilk, would that work?
Thanks
Hi Valerie, here’s a link to different options for substituting milk. I hope this helps! http://www.onegreenplanet.org/vegan-food/non-dairy-milk-guide-for-all-your-cooking-and-baking-needs/